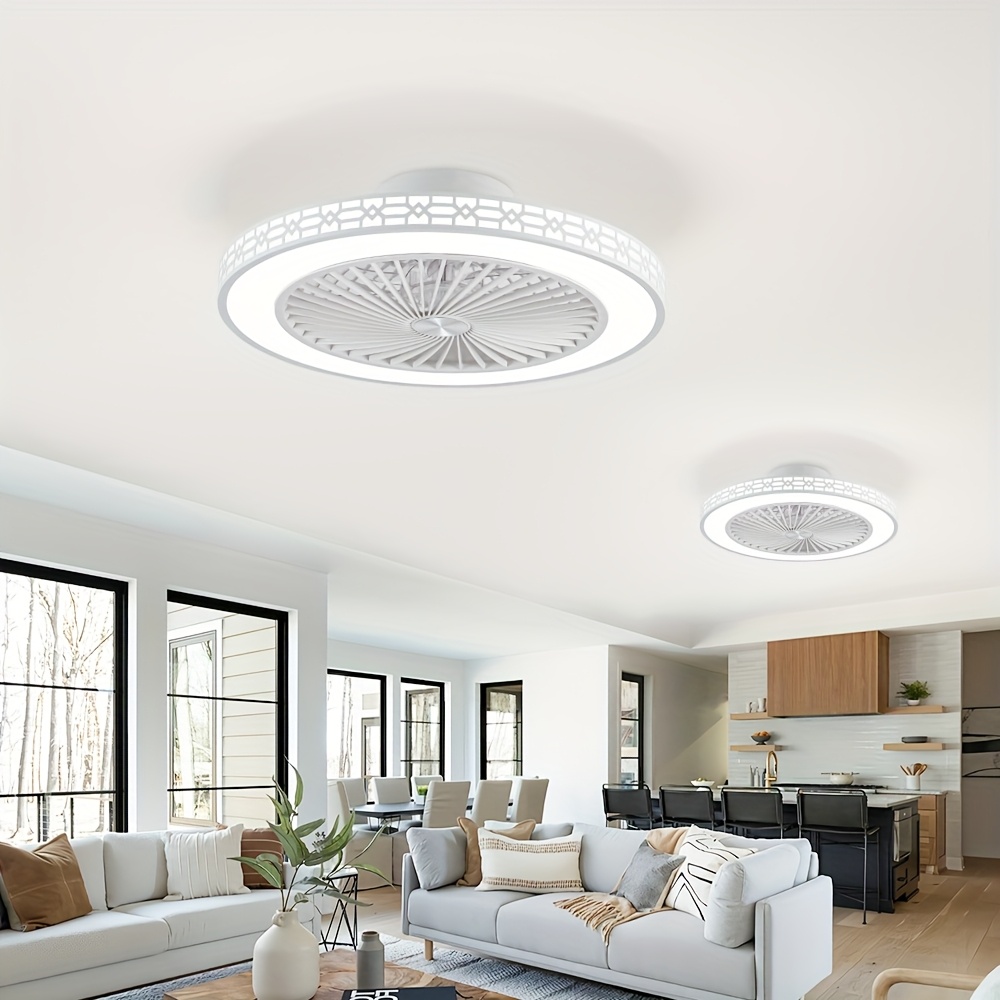
Installing a modern flush-mount ceiling fan with an integrated LED light can transform comfort and lighting in any room. This guide walks you through tools, wiring, mounting, and safety checks so you can complete the job confidently.
What You’ll Need
- Voltage tester, screwdriver set, wire strippers
- Ladder, safety glasses, work gloves
- UL-listed fan-rated ceiling box (if replacing a standard box)
- Wire nuts, electrical tape, included mounting hardware
1) Turn Off Power and Prep the Box
Switch off the circuit at your breaker panel. Verify the power is off with a non-contact voltage tester. If your existing ceiling box isn’t rated for fans, replace it with a fan-rated box anchored to a joist or an expandable brace.
2) Assemble the Fan
Unbox the fan and identify each component. Pre-assemble items per the manufacturer’s manual—typically the mounting bracket, canopy, and light module harness. Keep screws organized to speed up installation.
3) Install the Mounting Bracket
Secure the mounting bracket to the fan-rated box using the supplied hardware. The bracket should be perfectly flush and tight—this minimizes vibration and ensures a quiet fan.
4) Make the Electrical Connections
Typical wiring for a single-switch configuration is:
- House black (hot) to fan black
- House white (neutral) to fan white
- Ground (bare/green) to fan ground
If the fan includes separate light and fan leads (often blue for light), connect the blue lead to the switched hot if you want both to operate from the same switch. Use UL-listed connectors and tug-test each splice.
5) Mount the Fan Body and Canopy
Lift the fan assembly into the bracket. Most flush-mount units include a hook or notch to temporarily hang the fan while you complete wiring. Align the canopy and fasten all screws securely.
6) Attach Blades and LED Module
Install the blades per the manual, ensuring each screw is tightened evenly. Connect the LED light harness and secure the lens. Uneven screws can cause wobble—tighten in a star pattern for best results.
7) Power On and Test
Restore power at the breaker. Test all fan speeds and the light. Listen for unusual noise and check for wobble. If wobbling occurs, use the included balancing kit or verify that blades are seated evenly.
Safety & Code Tips
- Always use a fan-rated box and hardware.
- Keep conductor splices inside the junction box with the cover secured.
- If unfamiliar with electrical work, hire a licensed electrician.
FAQ
Can I install a flush fan on a sloped ceiling?
Flush-mount fans are optimized for flat ceilings. For slopes, consider a downrod-compatible model with an angled ceiling adapter.
What if I only have a single switch?
You can still control both fan and light from one switch and use the included remote to adjust speeds and brightness independently.